Here's how:
 |
| This is what Notre Dame means to me. |
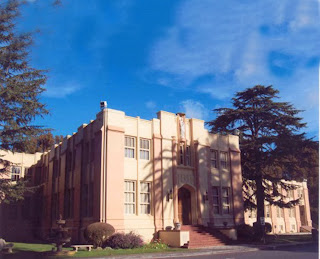
You have your fabulous image of Notre Dame first. If you need to add m ore area for text, you'll have to create more - easy by using the clone stamp!
 |
| Before Clone Stamp... |
 |
| After Clone Stamp... |
 |
| This will be my text image... |
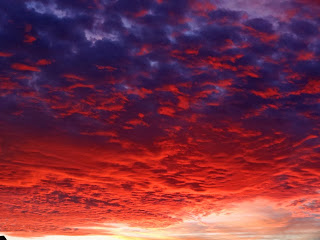
You will be creating your headline out of another image that you think will contrast nicely in the area where you'll be placing it. I wanted the word "family" to stand out so I chose a red sky at night image (see above!).
Now you want to add your headline - you know, that great reason why you go to Notre Dame? Create a new blank document and make sure it is the same size and resolution as your Notre Dame image. Using your tool box, choose "type" and create the word or words you'll be using.
 |
| Choose a font you think goes with your idea. |
In the Layers palette (on the right side of Photoshop) where you see your background picture (the sky image in mine), hold down Shift and drag directly from the layer on top of your word ("family" for me). You'll see the image cover your word but in the layers palette you'll see the new layer now called Layer 1. Change the name of the layer so you'll remember it!
With the image layer (sky for mine) still selected, choose Create Clipping Mask from the Layers palette menu. The image (sky for mine) is now showing through the text. I wanted to add a drop shadow for depth so I selected the text layer to make it active, clicked the Add Layer Style button at the bottom of the Layers palette and chose Drop Shadow from the pop-up menu. In the Layer Style dialog box I changed the opacity to 35% and clicked OK.
To place the text on your Notre Dame image you'll have to link the text and image together before you move the final word as a unit.
Click to select the image layer (sky for me), then Shift-click the text (family for me). then choose Link Layers from the Layers pop-up menu. A link icon appears next to the names of both layers.
You can now select the Move tool and drag the type to your Notre Dame image.
 |
| Ta-da! |


No comments:
Post a Comment